
Bumper Replacement - Turf Tank One and One+
Tools Required:
Phillips head screwdriver 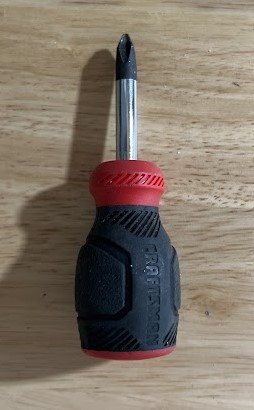 | 4 mm Allen wrench 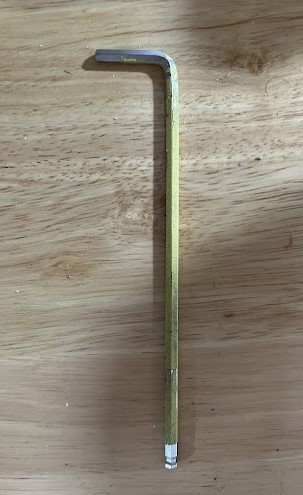 |
Zip ties | Snips to cut zip ties |
Remove Front and/or Rear Bumper
Open the right shield (from the perspective of facing the front of the Robot) and unhook the cable that holds it to the Robot chassis.
Locate the gray plastic cover over the wiring channel along the right side of the Robot chassis back to the fuse box.
Slide the cover in either direction enough to get a finger under it to lift the cover up and off.
Remove the four hex screws holding on the rear center console.
Unscrew the Robot antenna wire from rear console, placing it out of your way.
Undo the four Phillips head screws to remove fuse box cover.
Disconnect the brown and white bumper wires from fuse box by pressing down on orange block just above the wire)-Brown and white wires (attached picture)
front bumper are the left set of wires
rear bumper are the right set of wires
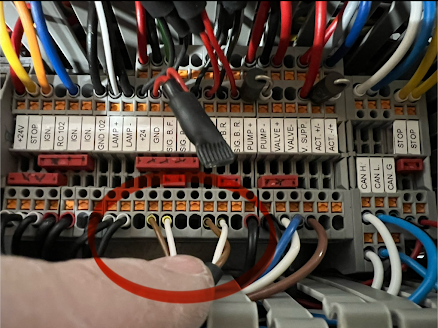
Left brown and white wires - FRONT; Right brown and white wires - BACK.
Unscrew the gray bumper wire collars (labeled with the bumper name) from the rear of the fuse box.
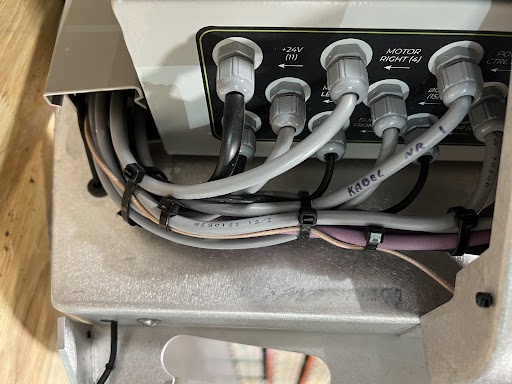
Bumper wires entering fuse box (bottom black cables)
Snip the zip ties holding the wires in place.
Remove the wires from the the main cable channel following each all the way back to the respective bumper itself.
Remove the screws securing each bumper to the Robot chassis.
Install New Bumpers
Repeat the above steps in reverse to install new bumpers.