
Replacing the Control Unit (Turf Tank Two and Lite)

DO NOT attempt to repair or replace any Turf Tank Robot’s components without the express consent and guidance of a verified Turf Tank representative.

Make sure Robot power is off and the battery is removed from the Robot before attempting any repairs or component replacement.
Tools Needed:
(Click photos to enlarge.)
Socket wrench with ratchet 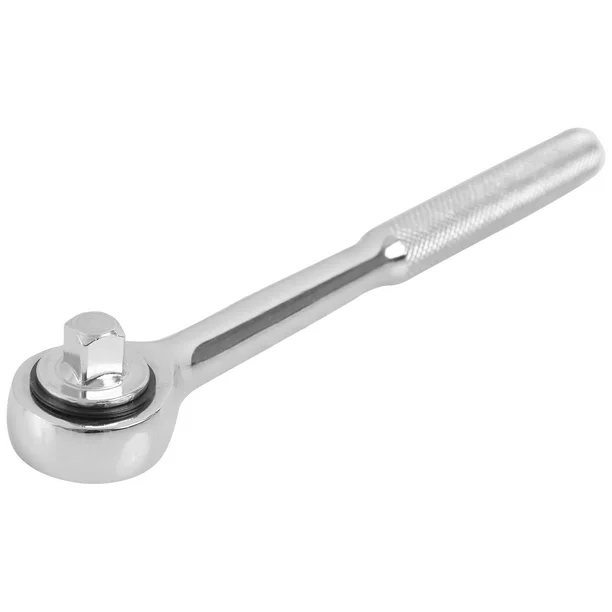 | Medium/long socket wrench extension (optional) 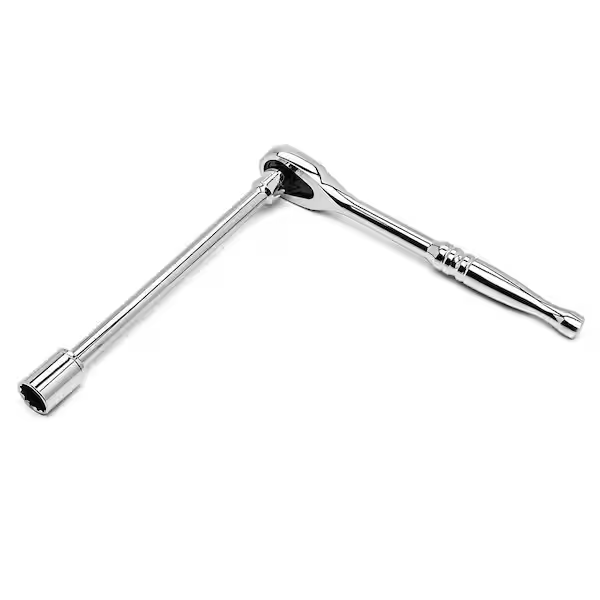 |
8 mm socket 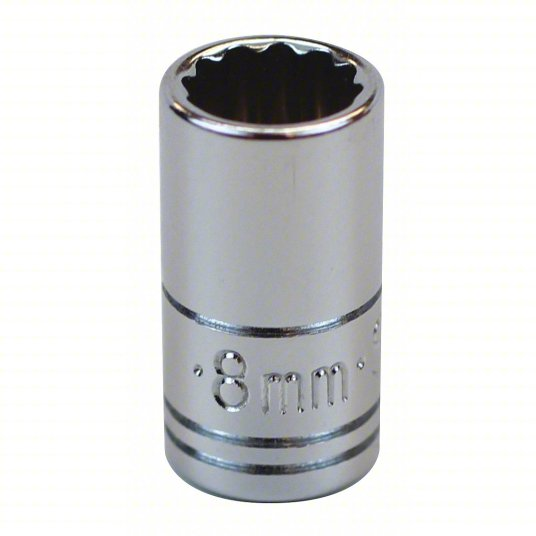 | Torx bit size T30 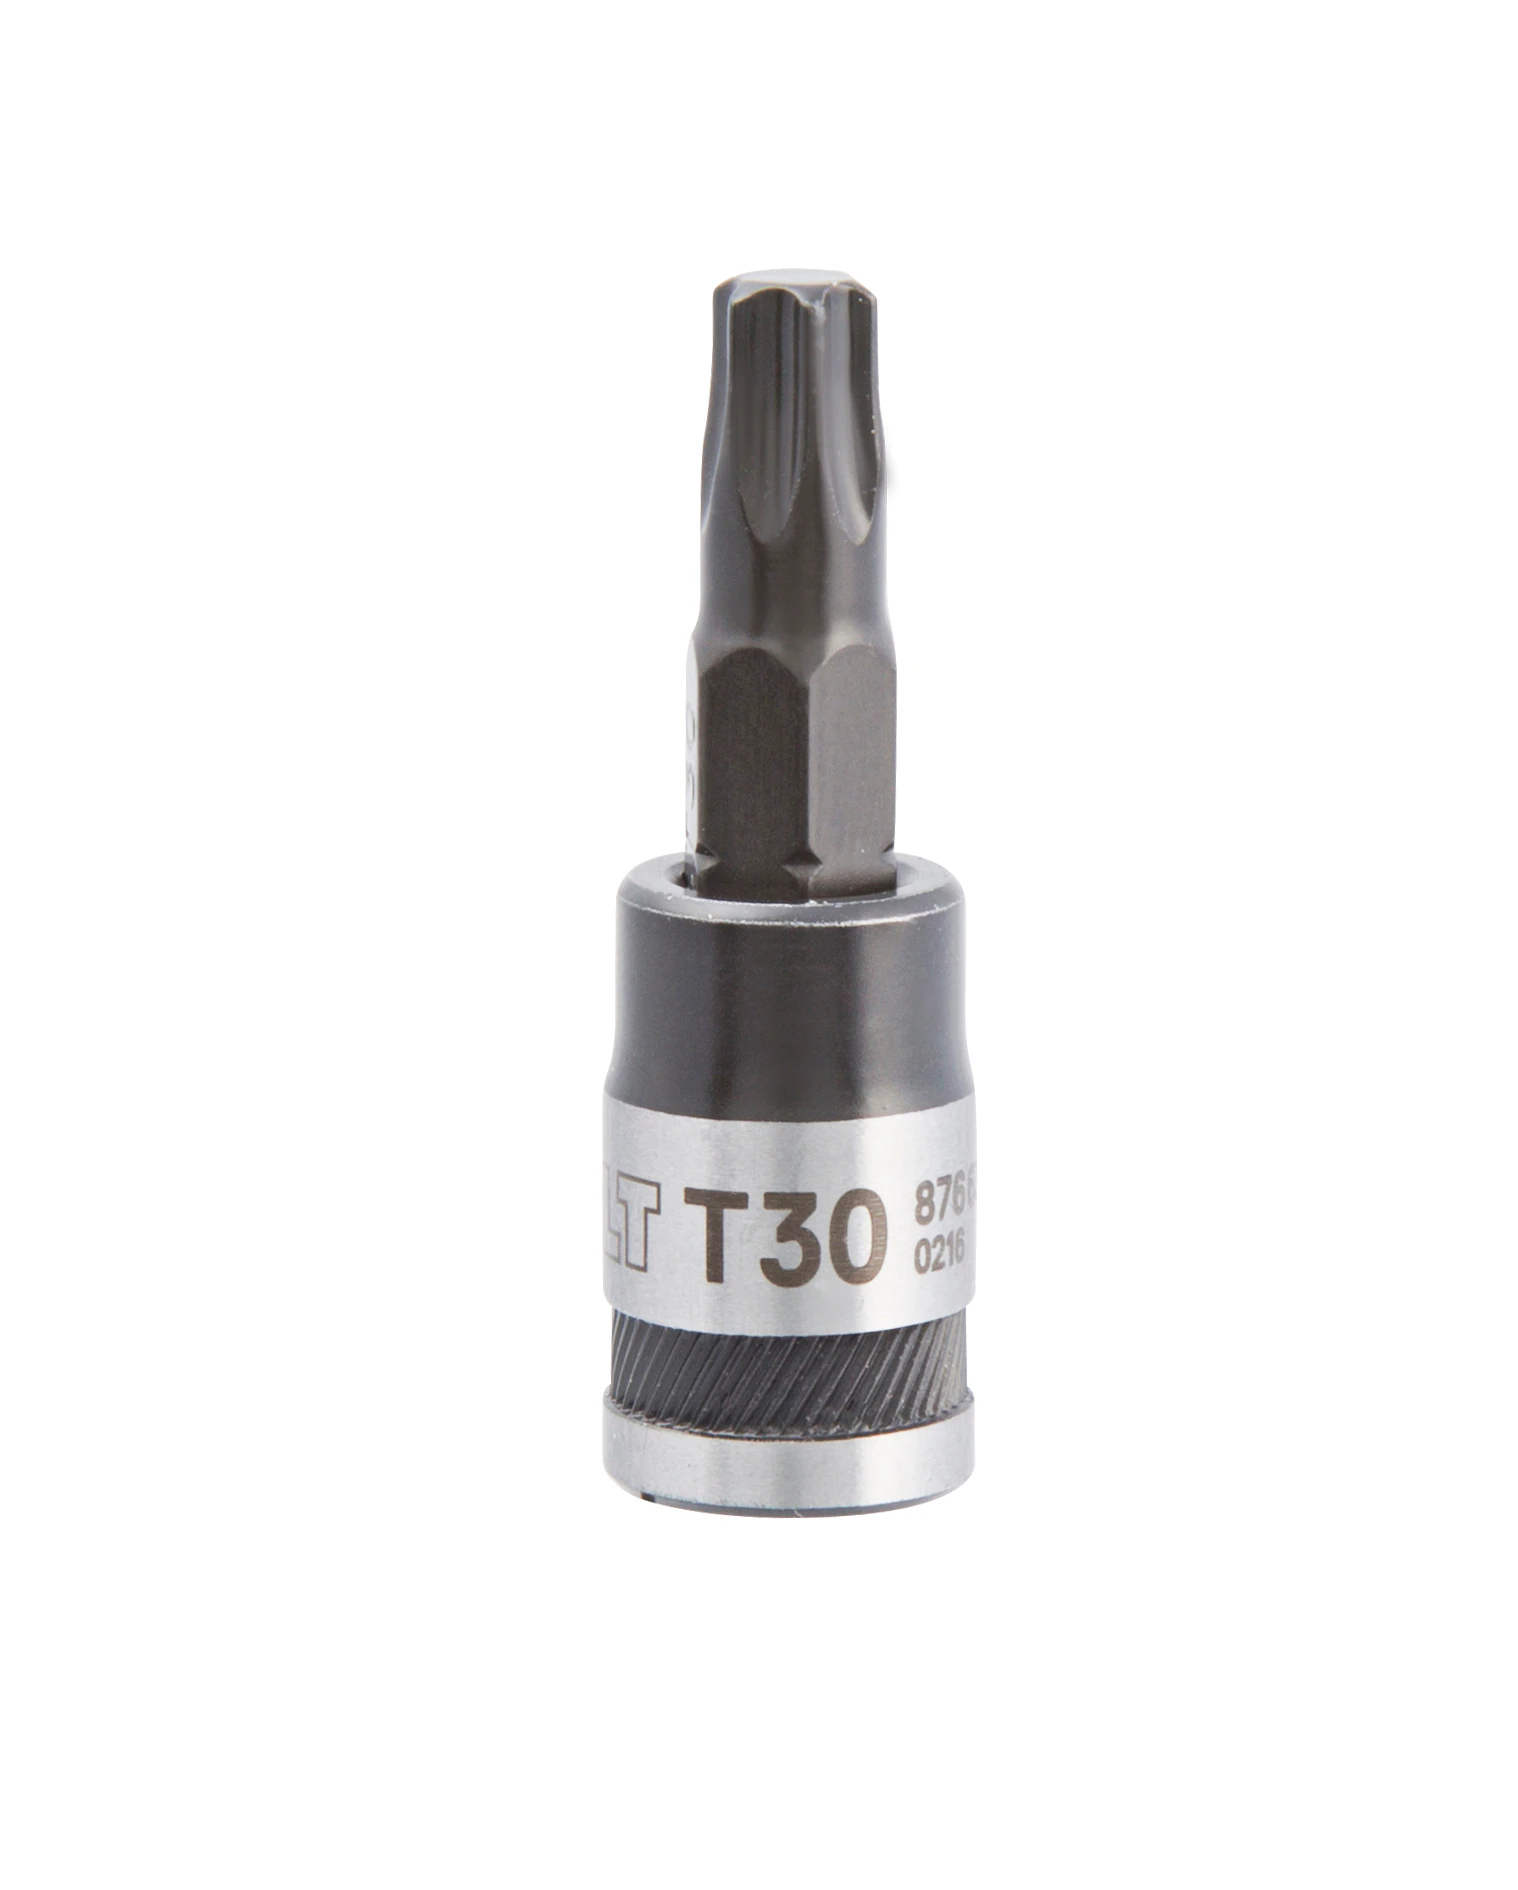 |

All directions are given from the perspective of facing the front of the Turf Tank Two Robot.
Remove Control Unit
Use the T30 Torx bit to remove the Robot shell.
There are three bolts on each side along the bottom of the shell.
There are two bolts under the front bumper that will likely require the ratchet extension to remove.
Disconnect the large silver bayonet fasteners of the four cables on the front of the control unit by turning a quarter- to half-turn counterclockwise.
Bayonet fasteners connect the motors, control panel, and battery box to the control unit. (Click to enlarge picture view.)
Unscrew the Rover cable (copper-colored thin cable below the ground wire in the picture below) from the right side of control unit.
Yellow circles show rover cable connector and grounding wire. (Click to enlarge picture view.)
Use the 8 mm socket wrench to remove the four corner bolts that secure the control unit.
The bolt on the right front corner of the control unit has a grounding wire. (See black wire with yellow collar in the picture above.)
This wire sits under the bolt washer and on top of the bolt hole in the control unit.
Screws that secure control unit to Robot chassis. Remove with 8 mm socket. (Click to enlarge.)
Remove wire harness plug from the left side of the control unit.
Press in the small center tab holding the outer bracket in place.
Slide the hinged outer bracket over the tab and toward the control unit until it clicks.
The whole harness plug unit will pop out once the bracket has cleared completely.
Gently lift the control unit out of its spot on the chassis.
Install a New Control Unit
When installing a new control unit, follow the above instructions in reverse.
A few clarifications and things to look for are noted below.
Step 5: The Wire Harness Plug
When attaching the electrical cables for the new control unit, make sure to align the groove on the hinged bracket that holds the plug with the small plastic peg on the plug itself. (If the plug is seated correctly, this should be easy to do.)
Move the bracket all the way back into place until the center tab locks.
Step 4: The Grounding Wire
DO NOT FORGET to reattach this wire when you install the new control unit.
Install the grounding wire on top of the bolt hole and under the bolt washer on the control unit.
Proper ground wire connection. (Click to enlarge picture view.)
Step 2: Connecting the Four Cables on Front of the Control Unit
Bayonet fasteners connect the cables for the motors, control panel, and battery box to the control unit. (Click to enlarge picture view.)
Connect the large silver bayonet fasteners of the four cables on the front of the control unit by turning a quarter- to half-turn clockwise.
Line up the black alignment dots on the connector cables with the corresponding pin on the receiver end to seat the plug correctly.
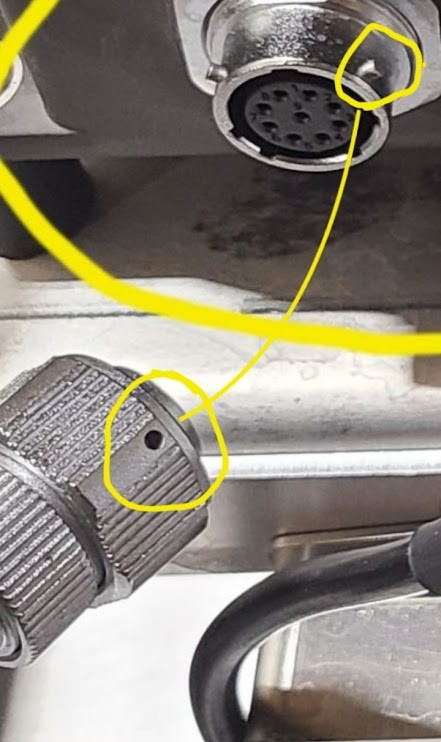
Line up the pin with the black dot to ensure proper alignment.
Turn the collar on the bayonet fastener until you feel a small click.